Create Android library(jar)
Like Java jar, we can make Android library as jar.
It can be included general-use source codes, Activity, resource layout files etc…
This blog focus on general-use codes(features).
Let’s start!
Create Android Project in Eclipse
Eclipse -> File -> Project -> New -> Android Project
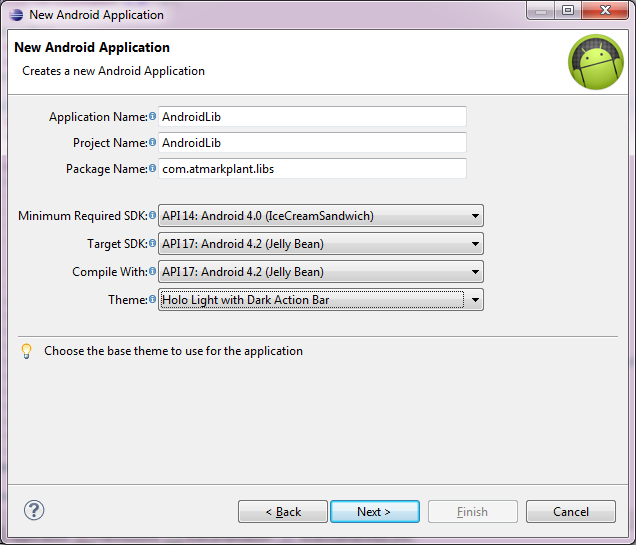
Fill in project identifiers
- Application name
- Project name
- Package name
New Android Application
When clicking next, this page is coming.
Please be careful of Minimum Required SDK.
If you set old version, you have to use old version compatible classes or so.
Click Next
Configure project
Next wizard is Configure Project.
Only things to do is to check Mark this project as a library
That’s a point.
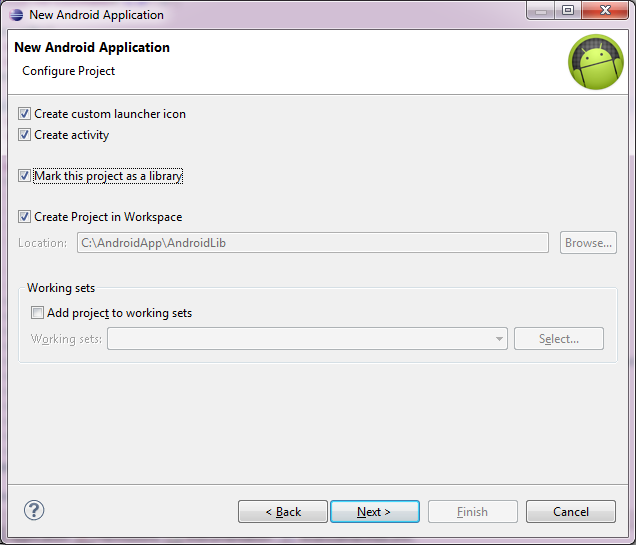
Click Next
Configure the attributes of the icon set
Nothing particular
And next is same.
Source codes
Source codes don’t have any requirement.
Export as jar file
Let’s make library jar file from eclipse.
Eclipse -> File -> Export
Export wizard will be opened.
※Eclipse4.3 need to select JAR(file) in Java
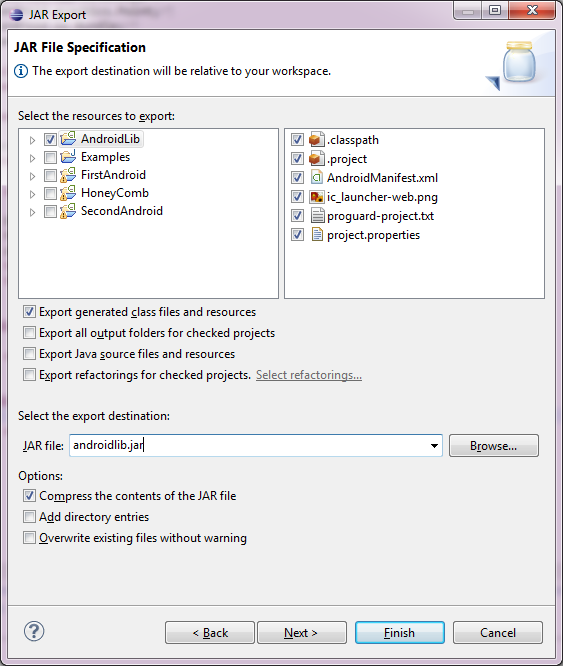
It’s important part.
Check your project and check your resource or several settings you want.
Fill in jar file name.
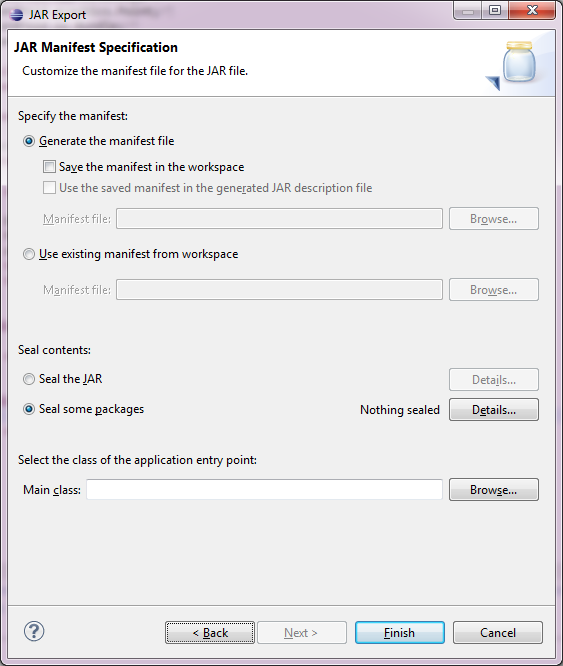
Other setting is not required.

Results
jar file will be under bin directory.
Checking
Let’s check contents of jar file using jar command.
Move to your bin directory.
jar -tf androidlib.jar